WARDOGS Control Zone Guide | WARDOGS Wiki
The objective moves; your route has to move with it
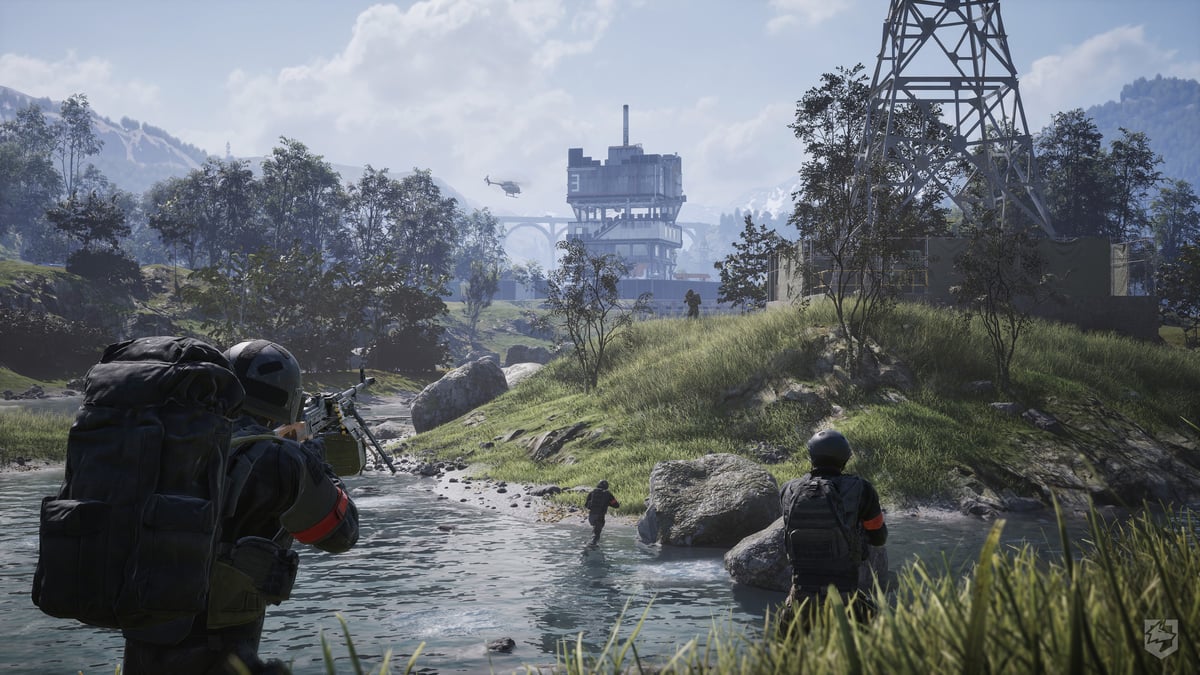
The Control Zone is the center of a normal WARDOGS match. Team17 describes it as a randomized 2×2 km objective inside the much larger battlefield. The team with the most players inside the zone earns points, and the first team to 100 points wins.
Map data boundary: the official source set establishes battlefield scale and Control Zone size, but it does not provide a complete verified coordinate database, loot map or public interactive-map dataset for this Wiki snapshot.
Why the zone is randomized
A randomized objective prevents the battlefield from having one permanent solved route. The useful roads, staging areas and travel distances change with the zone. A vehicle that is extremely valuable in one match may be less important when the objective spawns closer to friendly activity. The same is true for logistics and building positions.
For players, this means the first map-reading task is not “where is the best location?” but “where is the objective this match, and what does my team need to reach it?”
What the Hot Zone adds
Team17 separately describes a Hot Zone that can reward double cash. This adds an economic layer to map pressure. Players who already care about persistent cash now have a reason to compare ordinary teamplay value against a higher-reward location.
The multiplier does not mean every Hot Zone push is automatically efficient. More valuable areas can attract heavier fighting, and persistent cash means the cost of losing an expensive loadout still matters. Treat the Hot Zone as a risk/reward choice inside the broader objective game.
Towers and Drills
Current WARDOGS community reports connect both Towers and Drill Rigs to Hot Zone positioning. These mechanics are separated into dedicated pages because their exact Early Access workflow is less completely documented by official sources.
- Towers — current reports around code fragments and Hot Zone influence.
- Drills — current reports around Drill Rigs, FOBs and Hot Zone pressure.
The existence of those reports is useful for understanding why players search for the systems, but this page does not convert every community detail into an official rule.
Playing around the zone
Infantry
Infantry value comes from entering, surviving in and supporting the contested area. The zone is large enough that positioning still matters; “inside the objective” does not mean everyone must occupy the same small piece of cover.
Medics
Revives can be especially useful around sustained objective fights because Team17 explicitly lists reviving as a cash-rewarded team action. A Medic who keeps friendly presence alive can contribute tactically and economically at the same time.
Drivers and pilots
The wider map makes transport important. Delivering friendlies toward the active scoring area is another publisher-confirmed cash activity. The vehicle is valuable when it solves the distance problem; driving around without a useful destination is not the same thing as supporting the objective.
Support and logistics
Building and supply movement can help a team maintain pressure near useful positions. The FOB guide covers this layer without inventing unsupported construction values.
Control Zone checklist
- Identify the zone before committing to a route.
- Look at how far your current position is from useful team activity.
- Decide whether you are contributing through presence, revive support, transport, supply or another clear task.
- Avoid expensive side fights that do not affect the objective.
- Re-evaluate when the tactical situation changes instead of assuming the same route remains useful.